Cute paper Penguin craft
How adorable is this cute paper penguin craft?! My little guy and i loved them so much that we made ourselves a little penguin family! We’ve had so much fun making these little cone crafts and have came up with so many fun designs to share with you all. I’m sharing this one first because they’re my son’s absolute favourite – which is no surprise as he loves animals of all kinds!
You will need
- Thick construction paper or card (we used orange, white and black)
- Scissors
- Glue
- Sticker eyes (optional)
To make the body

Take a black piece of A4 paper and fold it in half to make a card shape. Then, take a pencil and draw a gradual curve starting from just above the centre of your fold line to the bottom right corner (you’ll need to make sure the curve isn’t too sharp or it won’t match up when folded).

Cut out your shape.

Fold your shape in half and trim off any excess to make sure both sides are even.

Open up your shape to reveal your 4 sections Cover one of your end sections in glue…
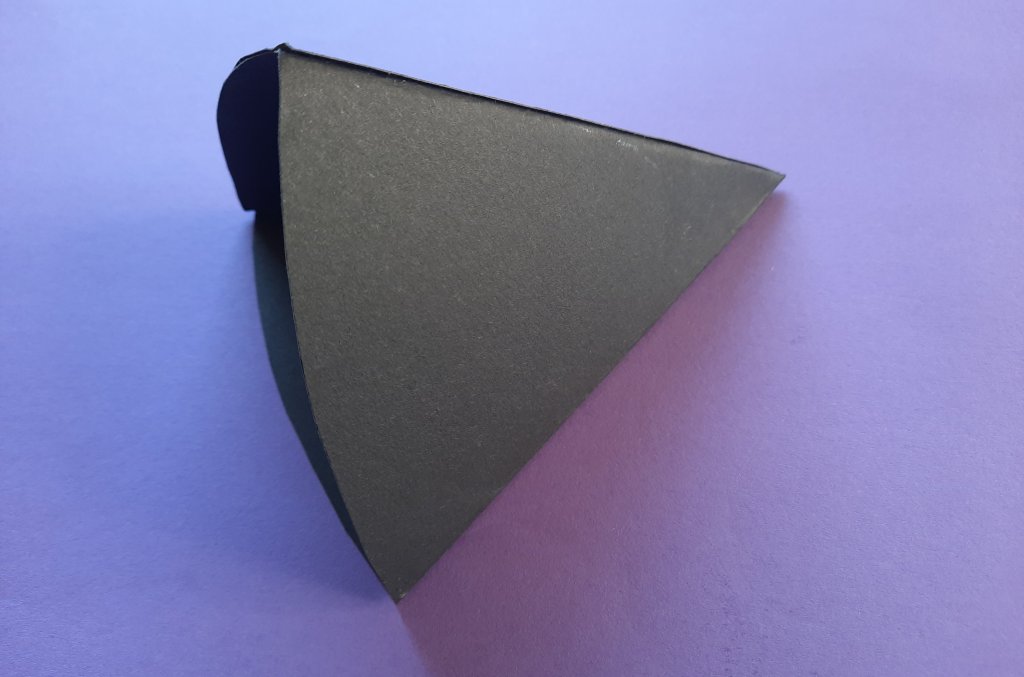
and then pull it round and stick it down on the back of your other end section to create a triangular cone.
To make the belly, head and flippers.

Cut out a white arch shape and glue it down centrally on your cone, this will make your penguin’s white belly.

Cut out a black circle for the head. Now you’ll need to give your penguin two eyes. We used eye stickers but if you don’t have these you can simply cut out some white circles and draw on the eye details. You’ll also need to stick down a beak, to make it, simply fold a piece of orange paper in half and using the fold line as the base cut out a triangle to give you a folded diamond shape. Glue one triangle half down on the face and leave the other half free as you can see above.

Next cut out two flipper shapes

and curl one end around a pencil.

The final feature that you will need to make is the feet. Make sure you leave enough room at the back of the feet to fold a tab that you can use to glue them on you penguin – just like you can see above!

Now it’s time to glue all your pieces together! Glue the head down at the top point of your cone. Add a flipper to each side and then using your folded tabs, secure the feet on the inside of your cone and fold them outwards. Your adorable penguin is finished!
Did you like the cute paper penguin craft? Why not check out these sweet penguin bookmarks?
[recent_post_slider design=”design-4″]